diy-closet-remodel-projects
As an Amazon Associate we earn from qualifying purchases. Details
A closet remodel can be a small job or a long one, depending on how much structure you change. This guide covers the DIY closet projects that home-design articles describe, with the main example being a builder-grade walk-in closet rebuilt with a base, cabinets, and shelves. It explains the materials, how the structure is fixed to the wall, and the finishing steps. The steps and materials come from the source articles, and the safety points come from general practice.
Quick answer
Most closet DIY projects follow the same order: empty the closet and plan the zones, build the structure and fix it to studs, then paint and fit the hardware. Anything you fasten to a wall must go into studs or into anchors rated for the load. Check for wires and pipes before you drill.
Plan before you cut
Start by sorting what goes into the closet, then mark out zones: hanging, folded clothes, shoes, accessories, and storage you use rarely. The walk-in project in the source began with a closet that had wire shelving and a dresser. Its owner did not draw a full plan, but she made sure the layout included the spaces she would actually use, such as custom sections for ankle boots and long dresses.
Worked example: sizing the zones
For example, a hypothetical closet 96 inches wide could give 36 inches to a hanging section for long dresses, 30 inches to a shelf stack, and the remaining 30 inches to shoes and baskets. Those sizes are a planning example, not a standard. Measure your own closet and adjust the split to match your wardrobe.
Build the base and shelves
In the walk-in project, the owner built a base for the cabinets and shelves so the storage would wrap the room. She secured 2×4 studs to the wall studs with 3-inch construction screws, then covered them with ¾-inch plywood to make the base. The shelving was spaced to fit her wardrobe and shoe collection. Her advice was to fix each piece firmly, because a base that moves will move everything on top of it.
Fastening and joinery
The same project used pocket holes made with a pocket-hole jig and 1¼-inch screws to join the plywood pieces. Keep the trim flush by making accurate cuts and lining up each sheet before you fasten it. The source did not give a load rating for the finished shelves, so for heavy loads, fix the frame into studs and do not rely on the joints alone.
Sanding and paint
The builder sanded with 180-grit paper, then 240-grit, before painting. She chose Behr’s Ultra Pure White 1850 to make the closet look brighter and feel larger. A paint sprayer, which you can rent from home improvement stores, gave a smooth finish. A roller also works, but it takes more care on flat plywood edges, so fill and sand those edges first.
Other DIY closet projects from the sources
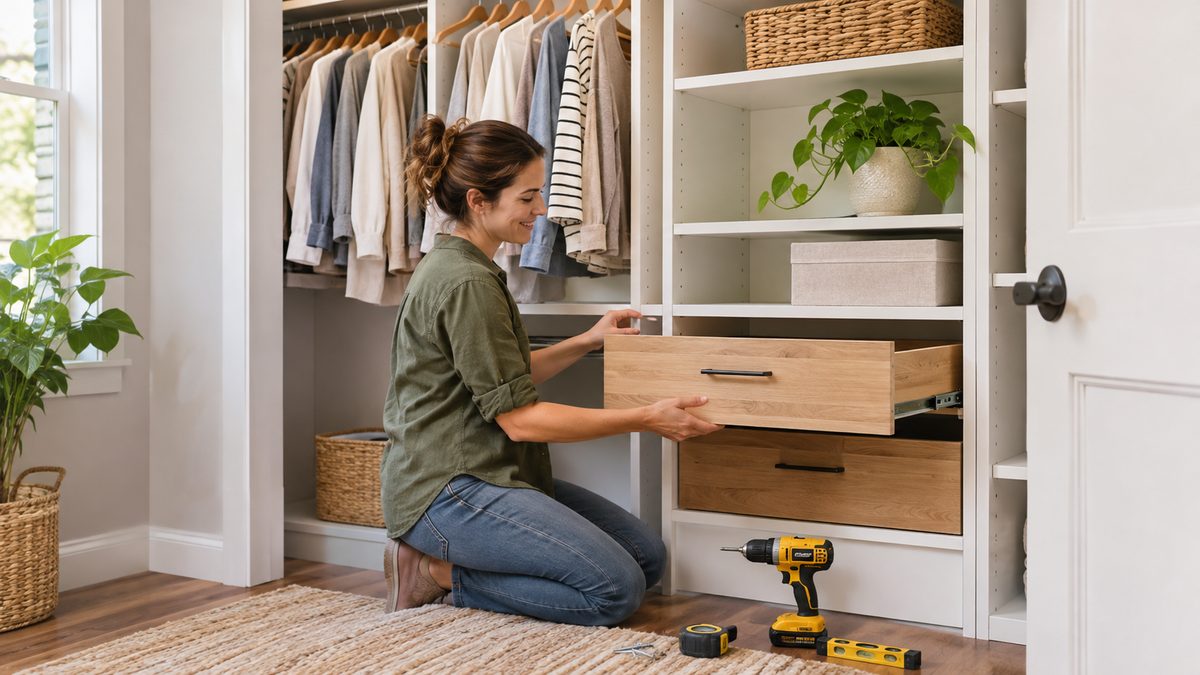
- Adjustable racks and drawers. Flexible racks adapt as your storage needs change, and drawers inside the closet save floor space in the bedroom.
- Floor-to-ceiling shelving with hidden cabinets. Shelves hold display items and rods hold shirts, while cabinets keep suitcases out of sight.
- Plywood cut to width. Ask the hardware store to cut cabinet-grade plywood to a 12-inch width, then cut the length at home. That keeps shelf depth consistent.
- Wood box organizers. Identical wood boxes make a modular organizer that you can rearrange.
- Kids’ closets. Remove the doors, add shelves for toys, and add a reading nook with good light.
- Convertible home office. A closet can become a desk and storage area that can be closed up at the end of the day.
Checking the wall first
Before you buy lumber, locate the wall studs and mark their edges with painter’s tape. A stud finder helps, but confirm each stud with a small pilot hole in a spot the base will cover, because a finder can read a pipe or a seam as a stud. Note where the wall meets the floor, since an uneven floor changes how the base sits and can make cabinet doors bind. Mark the locations on paper before you cut anything, so the frame lands where the screws reach solid wood.
Order of work
Most closet remodels follow the same order. Clear the closet and remove the old rods, brackets, and shelving. Patch and sand the walls, then paint them while the space is open. Build and fix the base and frame, then add the shelves and cabinets. Fill and sand every joint before the final coat of paint, and install the hardware, rods, and doors last. Load the shelves gradually once the finish has fully dried, and check every fixing again after the first few weeks of use.
Safety, lights, and rentals
Check for wires and pipes before drilling into any wall. If you add lighting or an outlet, get an electrician to do the wiring. Fix shelves to studs, and use rated anchors where a stud is not in the right place. If you rent, get written permission before you fix anything to a wall. A freestanding unit or a removable rack is the easier choice in that case.
Mistakes to avoid
- Fixing the base to the wall with screws that do not reach a stud.
- Painting before the joints are filled and sanded.
- Measuring the closet but not the door swing.
- Building shelves deeper than the material can support.
How we chose
We picked the projects that the sources describe in enough detail to follow: a builder-grade walk-in rebuild, several shelf and organizer ideas, and a few smaller jobs for kids’ closets and home offices. We left out projects that need a new wall, a new door, or new wiring, because those change the house and usually need a licensed trade. The list reflects what the sources describe. It is not a survey of closets and it is not a ranking.
What we could not verify
The sources do not give load ratings for the finished shelves, the cost of materials in any region, or the time each project takes. They do not say how a base would perform on a different wall type, and they do not address local building rules. We could not check the walk-in project’s measurements against a building code or a permit. Confirm local rules with the building department, and have a qualified person review any wiring or structural change.
Frequently asked questions
Do I need to find studs for a closet remodel?
Yes, for any fixing that carries load. The source’s walk-in project secured its base to the wall studs with construction screws. If a stud is not in the right place, use anchors rated for the load and your wall type.
Can I do a closet remodel in a rental?
Only with written permission from the landlord. Freestanding units and removable racks avoid changes to the walls.
Do I need a pocket-hole jig?
The source project used one. Other joinery is possible, but check that any joint you choose is rated for the load you plan to carry.
How much does a closet remodel cost?
The sources do not give costs, so we do not give prices. Materials, lumber, paint, and any electrical work vary by region. Get local quotes for the parts you do not plan to do yourself.
Related guides
For smaller closet projects, read small walk-in closet ideas on a budget, storage ideas for the top shelf of a closet, and the weight limit of ClosetMaid wire shelving.
Sources
- Architectural Digest: DIY closet remodel projects. Competitor article; facts captured 2026-10-14.
- Architectural Digest: a DIY closet system transforms a builder-grade space. Competitor article; facts captured 2026-10-14. The walk-in project, materials, and paint details come from this article.
- The Spruce: DIY closet ideas that are surprisingly easy. Competitor article; facts captured 2026-10-14.


